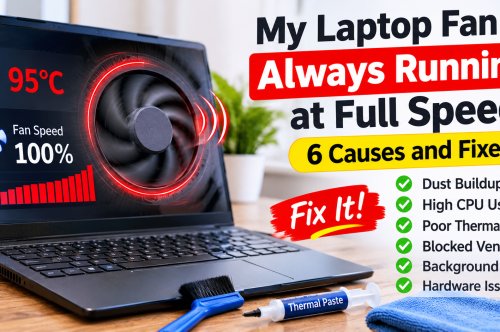







My Laptop Fan Is Always Running at Full Speed — 6 Causes and Fixes
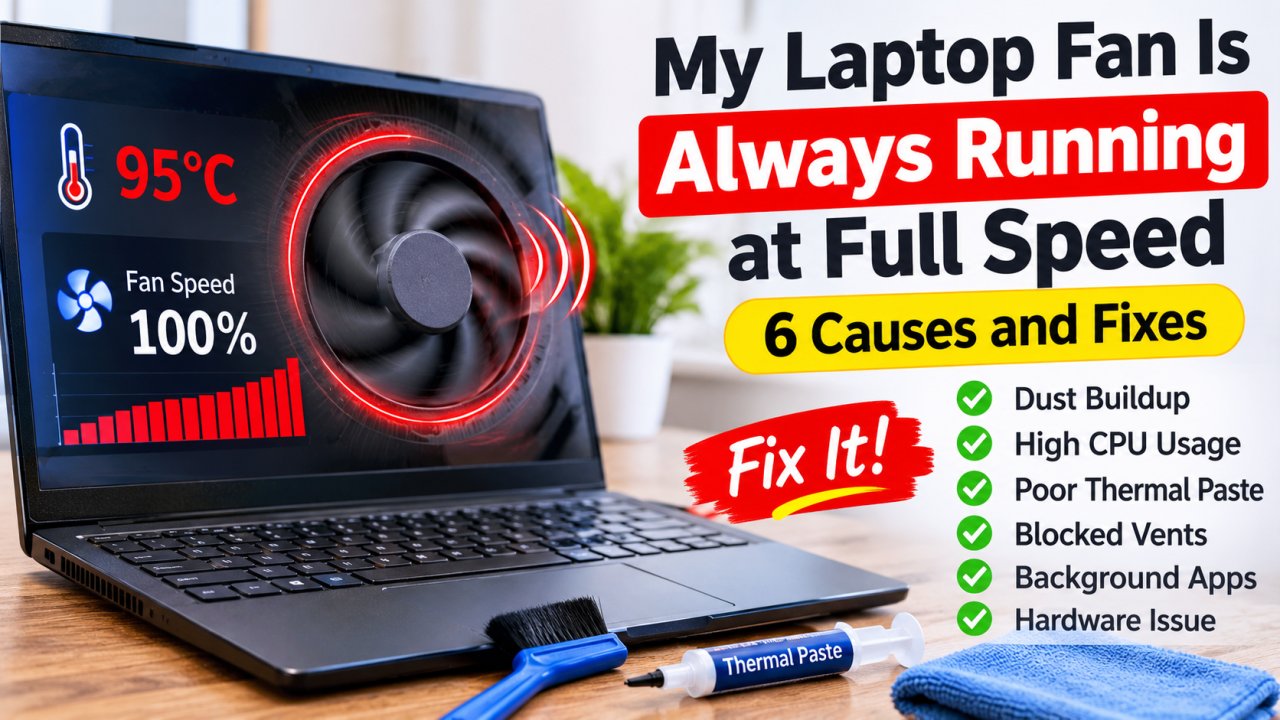
My Laptop Fan Is Always Running at Full Speed — 6 Causes and Fixes
My laptop fan used to be nearly silent. I could work for hours without noticing it. Somewhere in the past few months that changed — the fan now starts the moment I open the lid, runs at high speed through every session, and never quiets down even when I am doing nothing more demanding than reading a webpage. The machine is noticeably hotter, the battery lasts shorter, and the constant roar has become a source of daily irritation.
If this sounds familiar, the first thing to understand is that a laptop fan does not decide on its own to run constantly. It is responding to a signal — a rising temperature reading from a sensor on the processor. Something is either generating more heat than it should, or preventing that heat from being removed efficiently. In both cases, the fan reacts the only way it can: by spinning faster and faster until the temperature comes down. When the underlying problem is never fixed, the fan never slows down.
This guide diagnoses all six causes in order from most common to least common, with enough technical context to understand not just what to do — but why it works.
Jump to a Cause
- Dust-Clogged Vents and Heat Sink
- Dried or Degraded Thermal Paste
- Background Processes Consuming CPU
- Malware or Virus Using Your CPU
- Wrong Power Plan or OEM Fan Software
- Failing or Worn Fan Bearing
What the Fan Is Actually Doing
Understanding the laptop cooling system makes every fix in this guide make more sense. Inside your laptop, the processor generates heat as a byproduct of running electrical current through billions of transistors. This heat travels through a thin layer of thermal paste into a copper heat pipe — a sealed tube filled with a refrigerant liquid that evaporates at the hot end and condenses at the cold end, continuously moving heat away from the chip. The heat pipe deposits that heat into an aluminium fin array positioned at the laptop's exhaust vent. The fan forces ambient air through these fins and out through the vent, carrying the heat with it.
The fan speed is controlled by a temperature sensor embedded on the processor die. As temperature rises, the fan controller increases RPM proportionally. When everything is working correctly, the fan runs slowly at light load and speeds up under heavy tasks — then slows back down when the task is complete. When the fan runs at maximum speed constantly, it means the temperature sensor is reading dangerously high temperatures — either because the laptop is producing too much heat, or because the cooling system cannot remove heat fast enough.
4 Reasons Why This Matters Beyond Noise
| 🌡️ |
Processor lifespan Modern laptop processors are designed to operate below 95°C. Sustained operation at 90–95°C accelerates electromigration in the CPU — a process where atoms in the chip's circuitry gradually shift position, eventually causing permanent failures. A processor that runs hot consistently for years will fail years ahead of schedule. |
| 🔋 |
Battery degradation Lithium-ion batteries degrade faster at elevated temperatures. A laptop that runs at 85–90°C degrades its battery at roughly twice the rate of one running at 65–70°C. The battery capacity loss that takes three years under normal conditions can happen in 18 months in a consistently hot machine. |
| ⚡ |
Thermal throttling When the CPU temperature hits its programmed maximum — typically 95–105°C depending on the model — the processor reduces its own clock speed by 30–70% to generate less heat. This is called thermal throttling. A throttled processor can make an otherwise capable laptop feel slower than a machine with far less hardware. |
| 🔧 |
Fan failure Laptop fans have moving parts. The fan bearing wears out over time. Constant high-speed operation accelerates bearing wear. A worn bearing develops play, causing wobble and vibration, which shows up as a rattling or grinding sound before eventually causing the fan to seize entirely. |
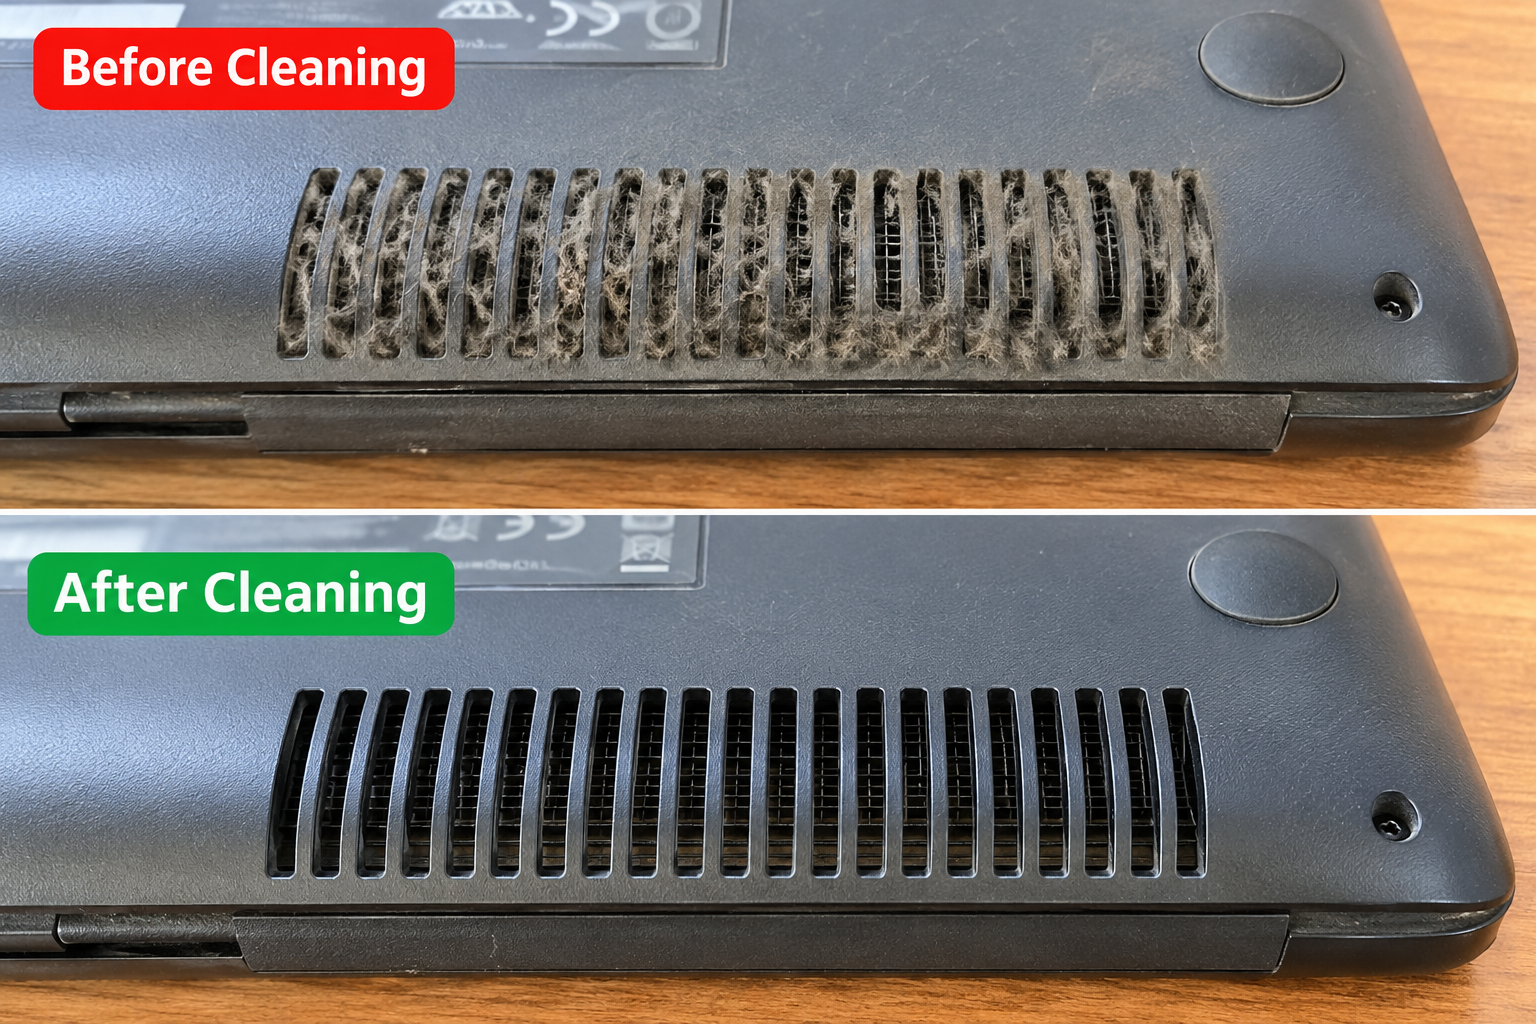
Dust-Clogged Vents and Heat Sink
This is the cause behind roughly 60–70% of fan complaints from laptops more than 18 months old in India. The fix takes five minutes and costs nothing if you already have compressed air.
How dust causes the problem
Every laptop pulls air through intake vents on the bottom or sides, passes it through the fin array, and exhausts it through the rear or side. That intake air carries microscopic dust, hair, fabric fibres, and skin particles. The aluminium fins in the heat sink are spaced approximately 0.5–1mm apart. Over time — faster in Indian conditions where ambient dust levels are significantly higher than in temperate countries — these particles accumulate and form a compressed mat across the entire fin surface. This mat is an almost perfect insulator. Air cannot pass through it, heat cannot escape, and the temperature climbs regardless of fan speed.
The India factor: Indian homes and offices accumulate dust on surfaces 3–5 times faster than homes in Northern Europe or Japan. The cleaning interval that works in Germany — perhaps once every 12–18 months — needs to be much shorter for Indian users. Laptops used on soft surfaces like beds or sofas pull additional fibres directly into the cooling system, compounding the problem.
How to verify before cleaning
Download HWiNFO64 (free, no installation required). Run it and open the Sensors window. Look for CPU Package Temperature or CPU Tdie. Let the laptop sit idle for ten minutes with nothing open. If idle temperature reads above 60°C, the heat sink almost certainly needs cleaning.
Complete cleaning procedure
| 1 | Shut down the laptop completely — not sleep, not hibernate. Unplug the charger and wait two minutes for capacitors to discharge. |
| 2 | Hold the laptop so the exhaust vent faces up. Insert the compressed air nozzle into the exhaust vent — no more than 5mm deep. |
| 3 | Hold the fan blade stationary with a toothpick through the vent before spraying. This prevents the fan from spinning faster than its design RPM during the blast, which would damage the bearing. |
| 4 | Spray in 2-second bursts. Rotate the laptop and spray through the bottom intake vents as well. Repeat until no dust is visible coming out. |
| 5 | After cleaning, restart and let the laptop run for 30 minutes. Re-check CPU idle temperature in HWiNFO64. A well-cleaned system should show 15–20°C lower idle temperature than before. |
When cleaning is not enough: If temperature remains high after thorough compressed air cleaning, the fins are either too compressed to be cleared by air pressure, or the problem is also caused by dried thermal paste (Cause 2). At this point, internal disassembly by a technician is needed.
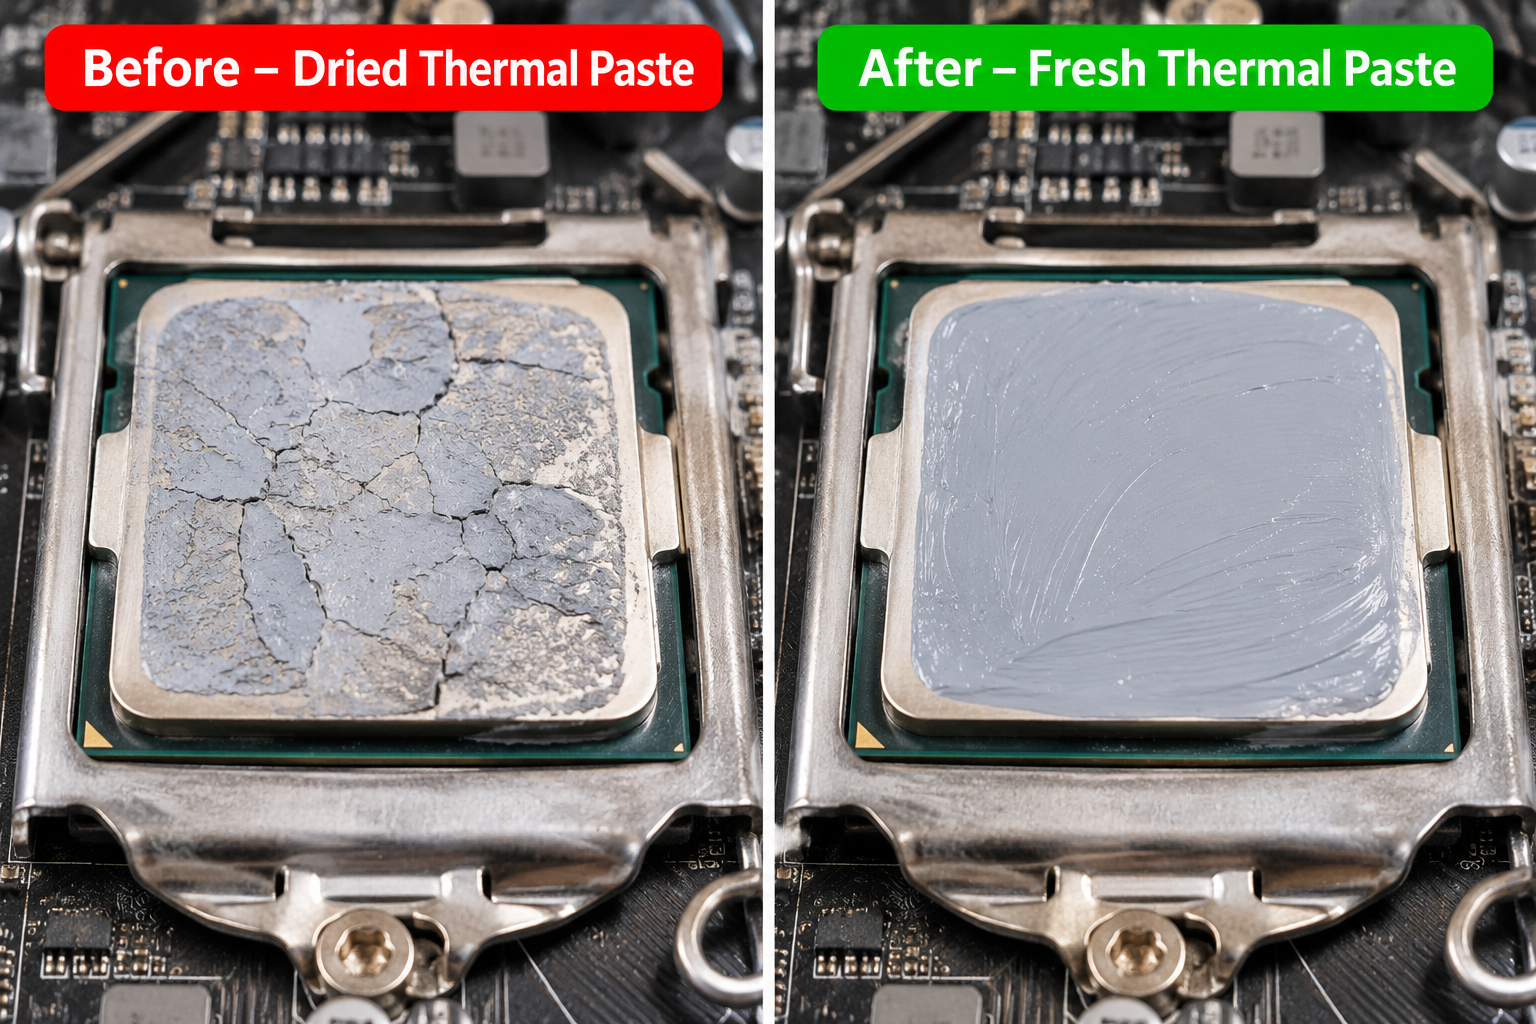
Dried or Degraded Thermal Paste
This is the second most common cause, and the most misunderstood. Most users have never heard of thermal paste, so when it degrades after 18–24 months they have no idea it is a possible cause of the symptoms they are experiencing.
What thermal paste does and why it matters
When you look at the surface of a processor die and the contact surface of a copper heat pipe under a microscope, neither surface is perfectly flat. Both have microscopic ridges, valleys, and imperfections measured in micrometres. When the two surfaces are pressed together without paste, these gaps are filled with air — and air is an extremely poor thermal conductor (0.025 W/m·K). Thermal paste has a thermal conductivity of 4–14 W/m·K depending on the compound — meaning it transfers heat between 160–560 times more efficiently than the air gaps it replaces.
How paste degrades
Thermal paste is a suspension of thermally conductive particles (silver, ceramic, carbon, or liquid metal) in a carrier compound. Over 18–36 months of heat cycling — expanding and contracting with every power-on and shutdown — the carrier compound dries out and the paste becomes hard, brittle, and cracked. It shrinks away from the contact surfaces, creating air pockets. Thermal conductivity can drop by 60–80% as paste ages. The processor temperature rises by 10–25°C under equivalent load compared to a fresh application.
Types of Thermal Paste — What the Differences Mean
| Type | Examples | Conductivity | Notes |
|---|---|---|---|
| Silicone | Budget stock paste | 3–5 W/m·K | Sets hard over time. Not recommended for laptops. |
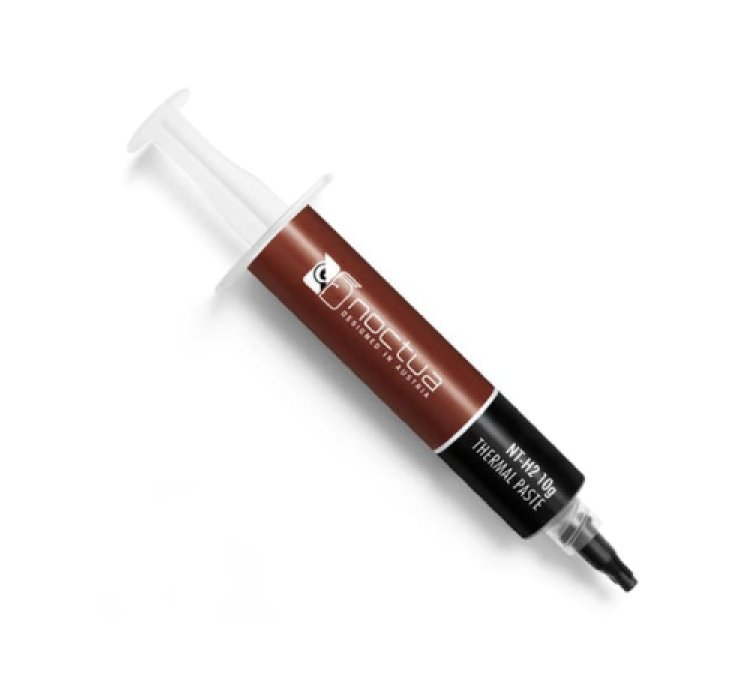
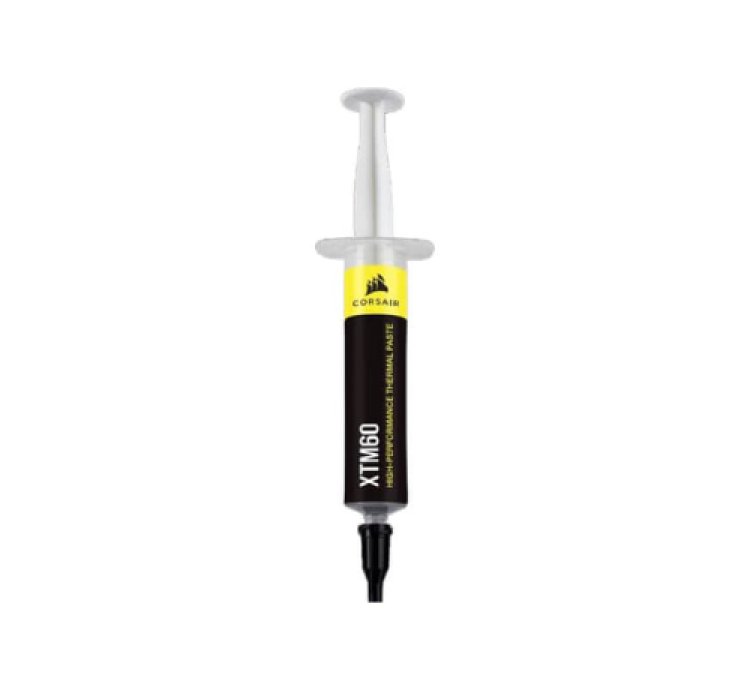
| Polymer | Noctua NT-H1, NT-H2, Corsair XTM60 | 5–9 W/m·K | Remains workable for years. Non-conductive. Excellent for laptops. |
| Carbon | Some Arctic MX series | 8–10 W/m·K | Stable across extreme temperature cycles. Non-conductive. Good for hot laptops. |
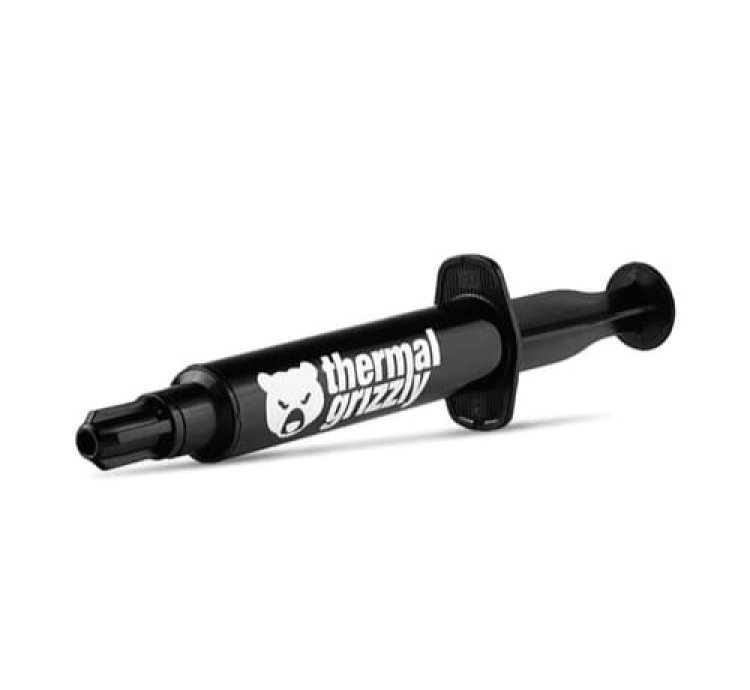
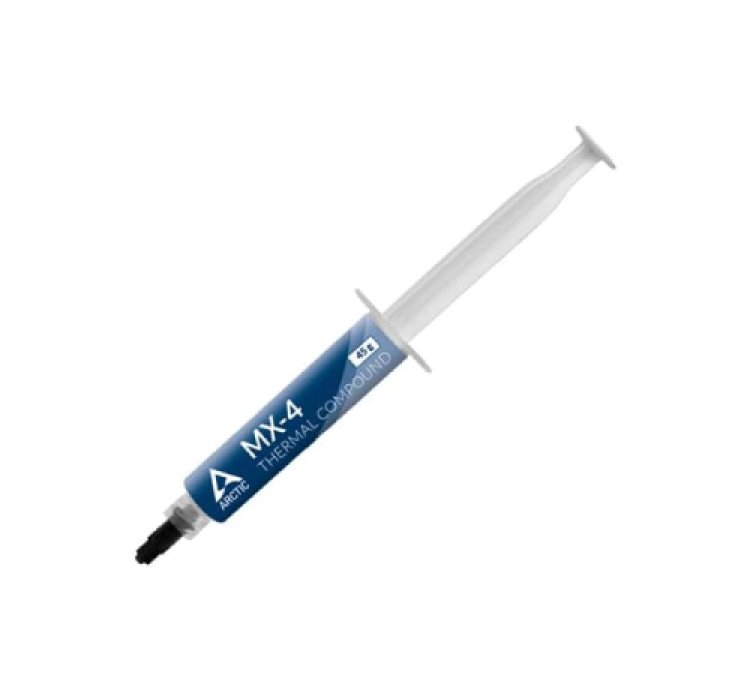
| Metal Oxide | Thermal Grizzly Kryonaut, Arctic MX-4 Premium | 10–14 W/m·K | Industry standard. Non-conductive. Lasts 5–8 years. Best choice for most users. |
| Liquid Metal | Thermal Grizzly Conductonaut | 73 W/m·K | Electrically conductive — permanent damage risk if misapplied. Experienced users only. |
Correct Application Procedure
| 1 | Open the laptop bottom panel. Refer to your model's iFixit teardown guide for the exact screw pattern. |
| 2 | Remove the heat pipe/heatsink assembly screws in the numbered sequence printed on the heatsink. Lift the heatsink away — old paste will be visible as a grey-brown dried layer. |
| 3 | Clean both surfaces with isopropyl alcohol (90%+) and a lint-free cloth — wipe in one direction only. Allow to fully dry (30–60 seconds). |
| 4 | Place a pea-sized amount (approximately 0.3–0.5g) of fresh paste in the centre of the processor die. Do not spread manually — the mounting pressure spreads it correctly and manually spreading introduces air bubbles. |
| 5 | Reattach the heatsink and tighten screws in the same numbered sequence. Restart and verify temperatures in HWiNFO64. |
Background Processes Consuming CPU
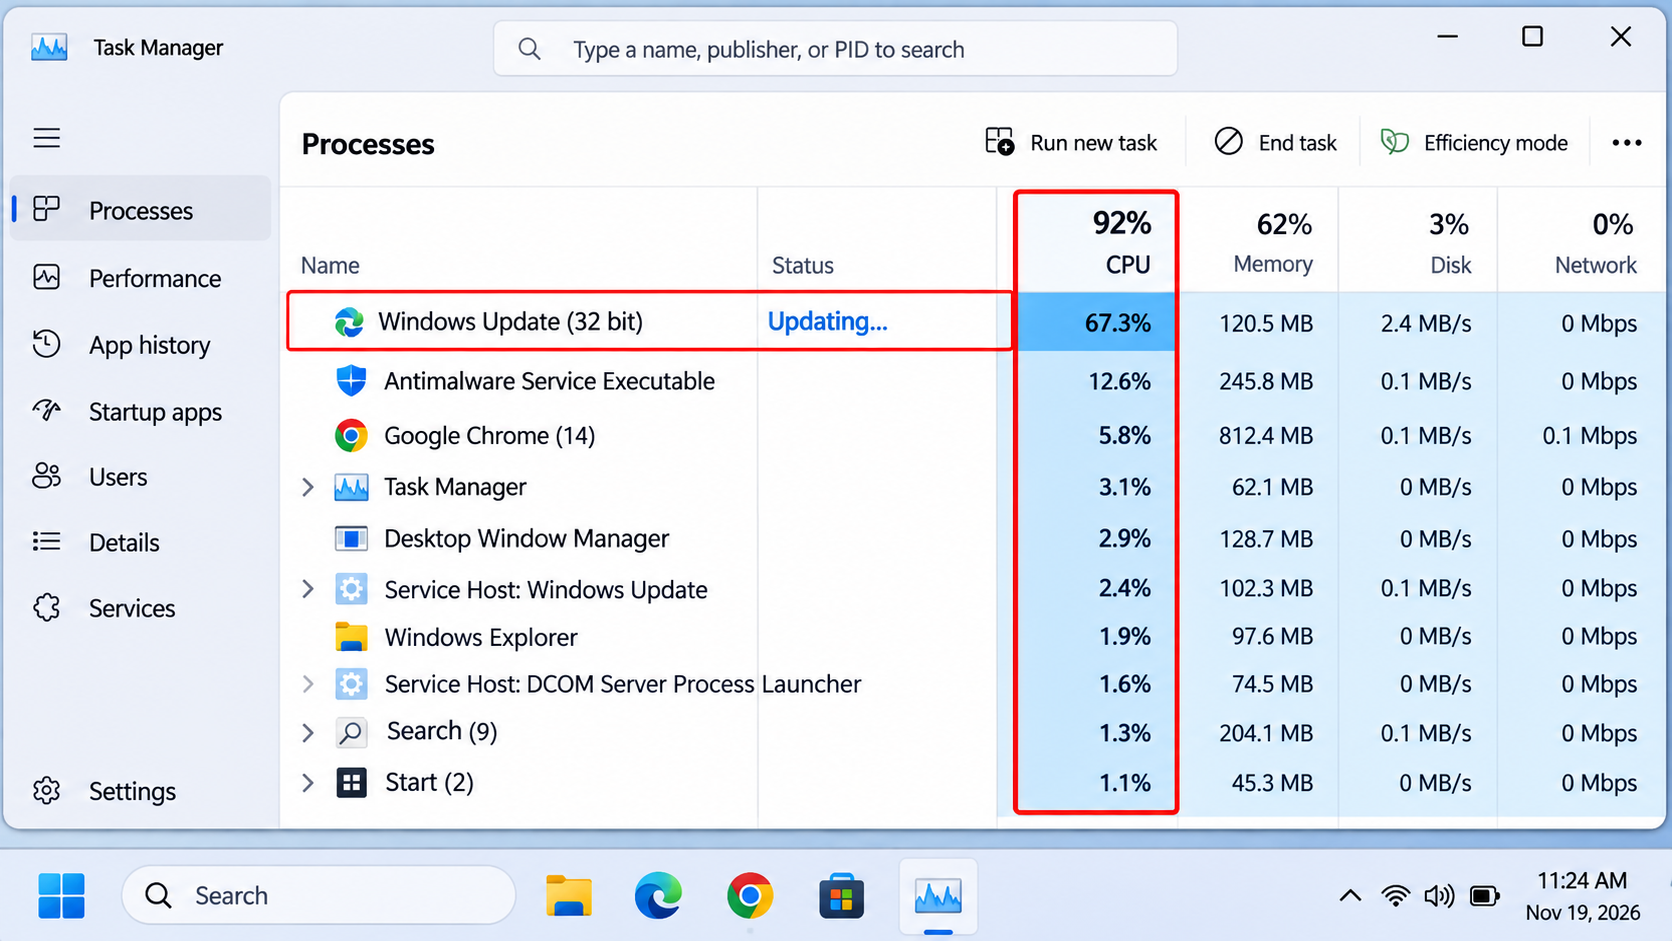
The laptop fan does not know why the CPU is hot — it only knows that it is hot. If a background process is consuming significant processor resources, the CPU heats up and the fan responds exactly as it would during a demanding game. This cause is particularly common immediately after major Windows updates, after new software installation, or during the first hour after startup when multiple background tasks compete for resources.
The Most Common Background Offenders
Windows Update (svchost.exe — WUAUServ)
Windows 10 and 11 download, unpack, verify, and install updates entirely in the background. A major feature update can consume 30–80% CPU for 30–90 minutes. The process is throttled to run at low priority, but on 4-core budget laptops even a throttled update causes significant heating.
Windows Defender (MsMpEng.exe)
Real-time protection runs continuously at low priority, but a scheduled full scan consumes 25–70% CPU for 30–120 minutes. Defender schedules full scans weekly, typically at a time when the system was recently idle.
Windows Search Indexing (SearchIndexer.exe)
After a Windows update or a large file operation, the search indexer re-indexes the drive. On HDD systems this process is extremely disk and CPU intensive and can run for hours.
Browser with Many Tabs (chrome.exe, msedge.exe)
Modern browsers assign a separate process to each tab. Thirty open tabs can keep 2–4 CPU cores at 20–40% load continuously through JavaScript execution, ad rendering, and auto-refreshing content.
Cloud Sync Clients (OneDrive, Google Drive, Dropbox)
When large files change or a sync backlog exists, these services perform compression and upload operations that consume significant CPU. The sync icon in the system tray will show activity if this is happening.
How to Diagnose and Fix
Press Ctrl + Shift + Esc → Task Manager → click the CPU column header to sort by CPU usage descending. Watch for 60 seconds and note any process consistently above 10%.
- Windows Update: Settings → Windows Update → check if an update is active. If yes, let it finish and restart.
- Defender scan: Security → Virus & threat protection → Manage settings → Scroll to Automatic sample submission → Review scan schedule. Set custom scan time to 2:00 AM when laptop is plugged in.
- Browser: Close unused tabs. Use OneTab or Tab Suspender extension to suspend inactive tabs.
- Cloud sync: Pause sync while working — most sync clients have a "Pause for 2 hours" option in the system tray.
Malware or Virus Using Your CPU
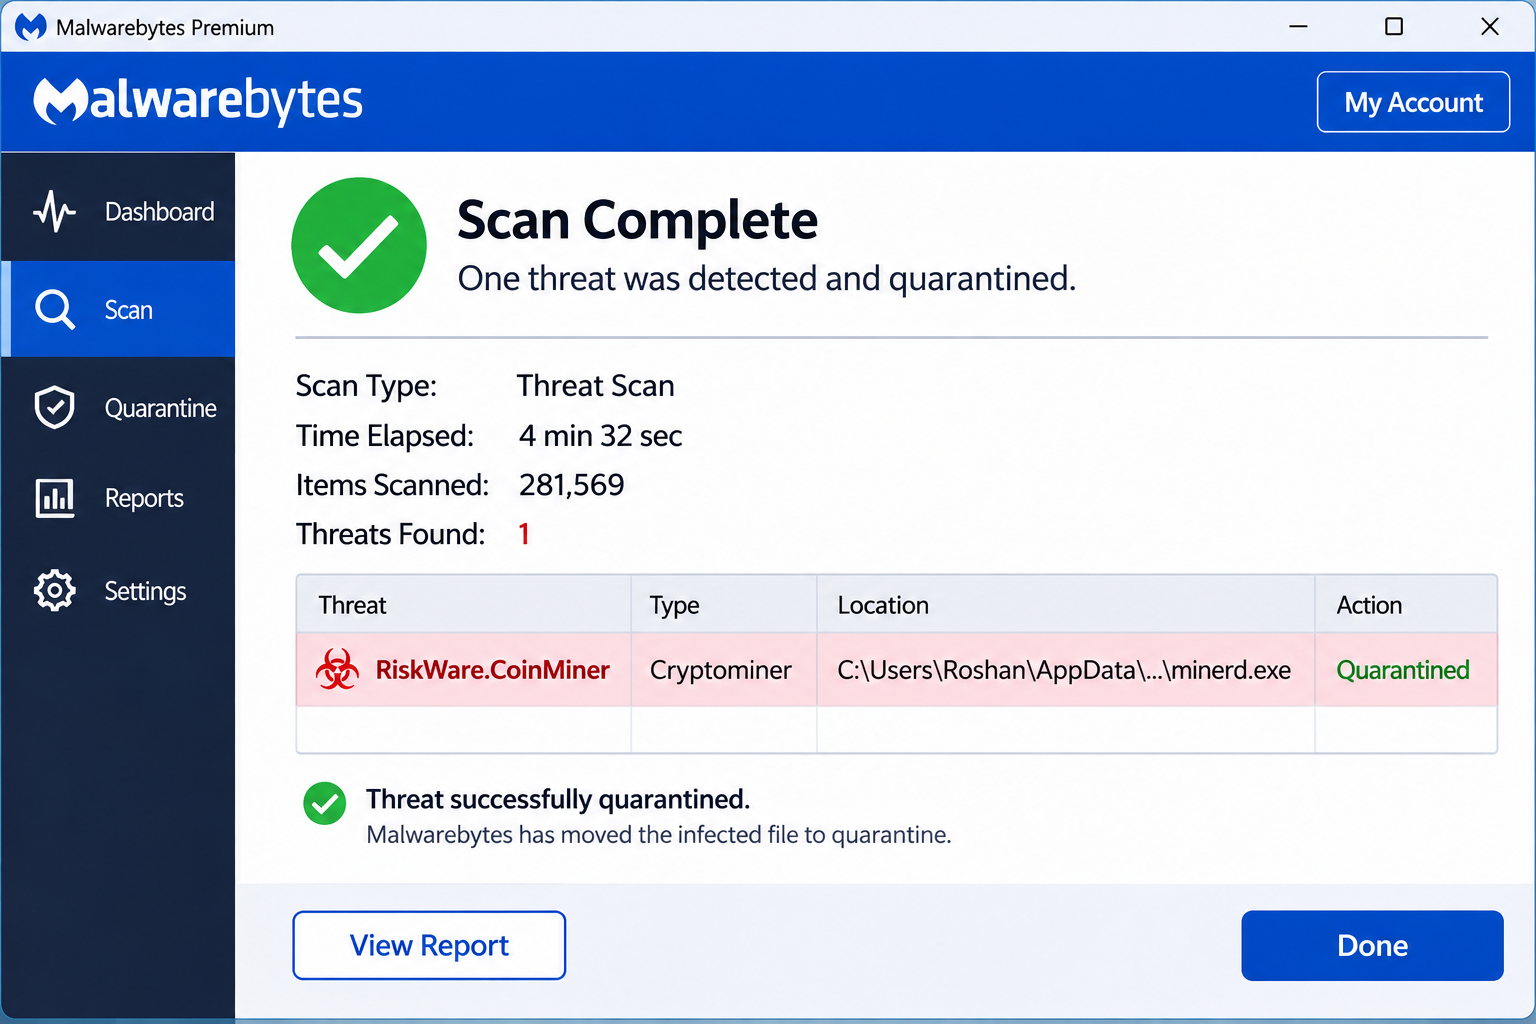
This cause has become significantly more common in India over the past three years. Cryptomining malware — software that runs your CPU at maximum load to mine cryptocurrency for someone else — is specifically designed to avoid detection while consuming as much processor time as possible. It is typically installed alongside pirated software, cracked games, fake utility downloads, or through phishing links.
How Cryptomining Malware Operates
Unlike traditional malware that crashes systems or steals files, cryptomining malware wants your laptop to stay running as long as possible. It is specifically designed to be invisible. It throttles its own CPU usage when Task Manager is opened — dropping from 90% consumption to under 5% the moment it detects monitoring software — then resuming maximum consumption when monitoring is closed. It uses process names that resemble legitimate Windows components (svchost.exe, dllhost.exe, wuauclt.exe) to avoid suspicion.
Warning signs that malware may be the cause:
- Fan at full speed even during idle, with no obvious processes visible in Task Manager
- CPU in Task Manager shows only 10–15% usage, but the system feels completely unresponsive
- Laptop runs hot even during the first five minutes after startup, before any applications have loaded
- Internet connection feels slower than usual
- Task Manager's "System" process shows unusually high CPU usage
How to Find and Remove It
| 1 | Download Malwarebytes Free from malwarebytes.com — it uses a different detection engine from Defender and regularly catches threats that Defender misses. Run a full scan (40–90 minutes). Quarantine everything it finds. |
| 2 | Follow with a Windows Defender Offline Scan: Windows Security → Virus & threat protection → Scan options → Microsoft Defender Offline scan. This scan runs before Windows loads, where malware cannot hide from the scanner. |
| 3 | After both scans, restart and monitor CPU temperature for 24 hours. If the problem persists after cleaning — the safest option is a Windows reset: Settings → Recovery → Reset this PC → Keep my files → Cloud download. This removes all installed software while keeping personal files. |
Prevention: Only download software from official developer websites or the Microsoft Store. Never install software from torrent sites, file-sharing platforms, or "free download" aggregator sites. These are the primary distribution channels for bundled malware in India.
Wrong Power Plan or OEM Fan Software
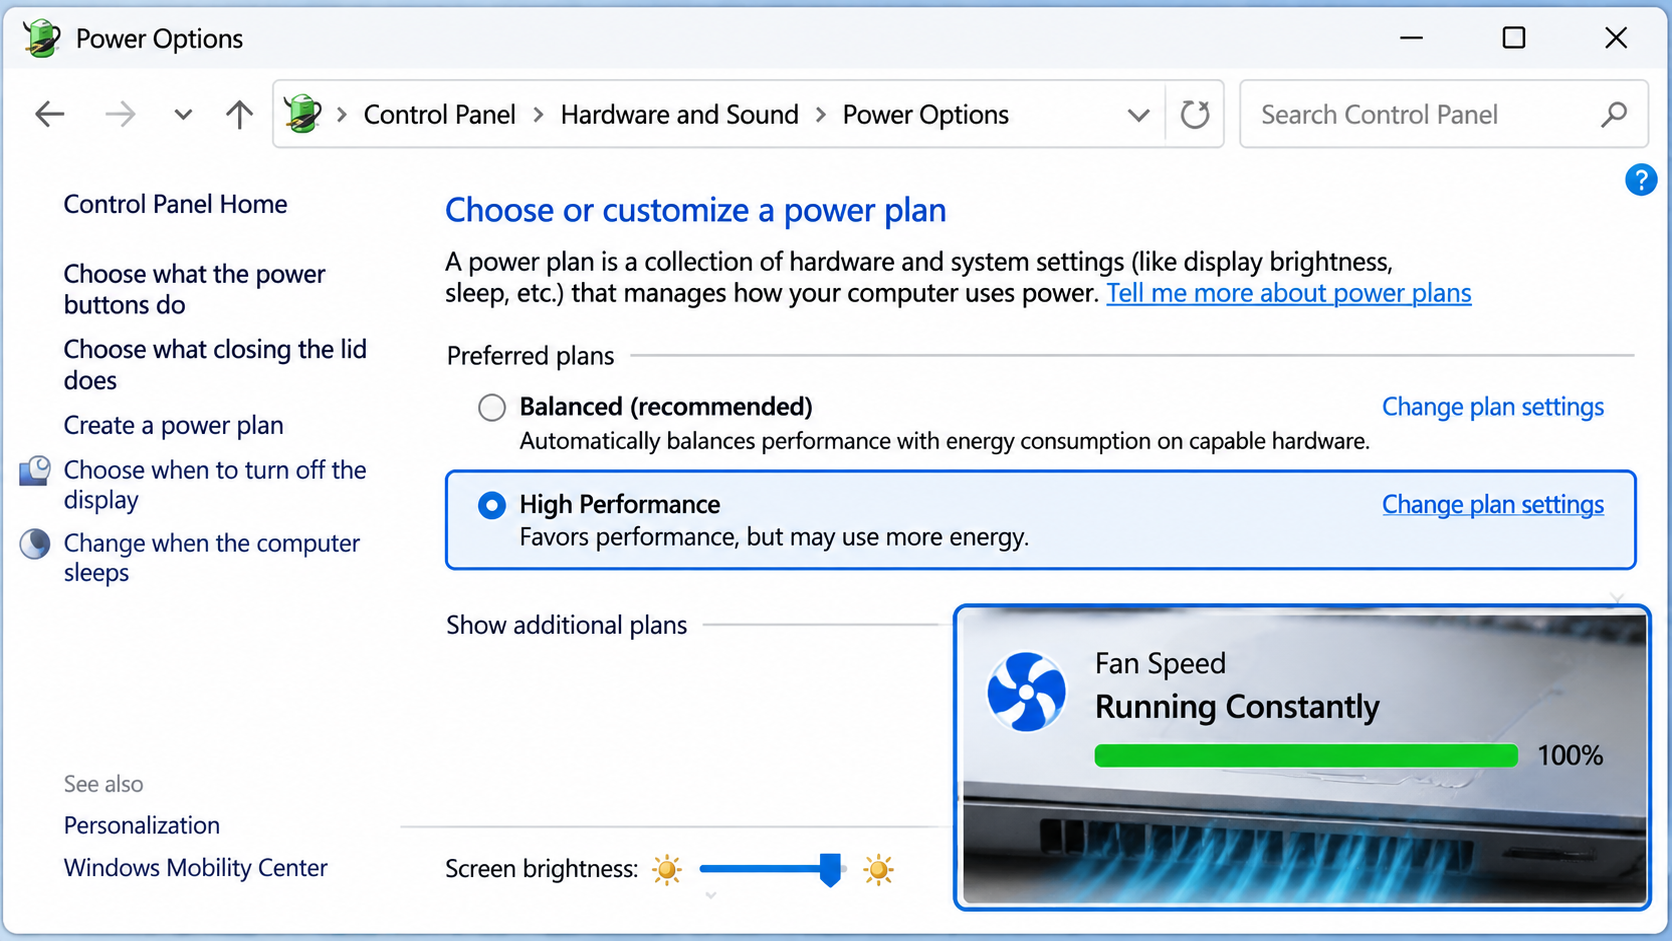
This cause is one of the simplest to fix but one of the least intuitive to identify. Windows power plans directly control how the CPU manages its own clock speed. The wrong power plan setting keeps the processor at maximum frequency even during idle, generating unnecessary heat that forces the fan to run constantly.
The Minimum Processor State Explained
Inside Windows Power Options → Change plan settings → Change advanced power settings → Processor power management → Minimum processor state, there is a percentage value. At 5% (Balanced default), a 3.0 GHz CPU idles at approximately 400–600 MHz — cool and quiet. At 100% (High Performance), that same CPU idles at 3.0 GHz — hot and loud. The fix is as simple as changing this percentage.
OEM Fan Control Software — By Brand
| Brand | Software | Setting to Change |
|---|---|---|
| Lenovo | Lenovo Vantage | My Device → Power → Power Mode → Intelligent Cooling or Battery Saver |
| HP | HP Command Center | Thermal Profile → Default or Cool |
| Asus | MyASUS or Armoury Crate | Fan Profile → Balanced or Silent |
| Dell | Dell Power Manager | Thermal Management → Quiet or Optimized |
| Acer | Acer Care Center | Performance → Balanced |
| MSI | MSI Center | Fan speed → Auto |
Complete Fix Procedure
| 1 | Control Panel → Power Options → Select Balanced. |
| 2 | Click "Change plan settings" → "Change advanced power settings" → Expand Processor power management. |
| 3 | Set Minimum processor state to 5% for both battery and plugged in. Set Maximum processor state to 99% for battery, 100% for plugged in. (99% prevents constant turbo boost and thermal spikes on battery.) |
| 4 | Open your OEM software (from the table above) and switch to the balanced or default thermal profile. Changes take effect immediately — no restart required. |
Failing or Worn Fan Bearing
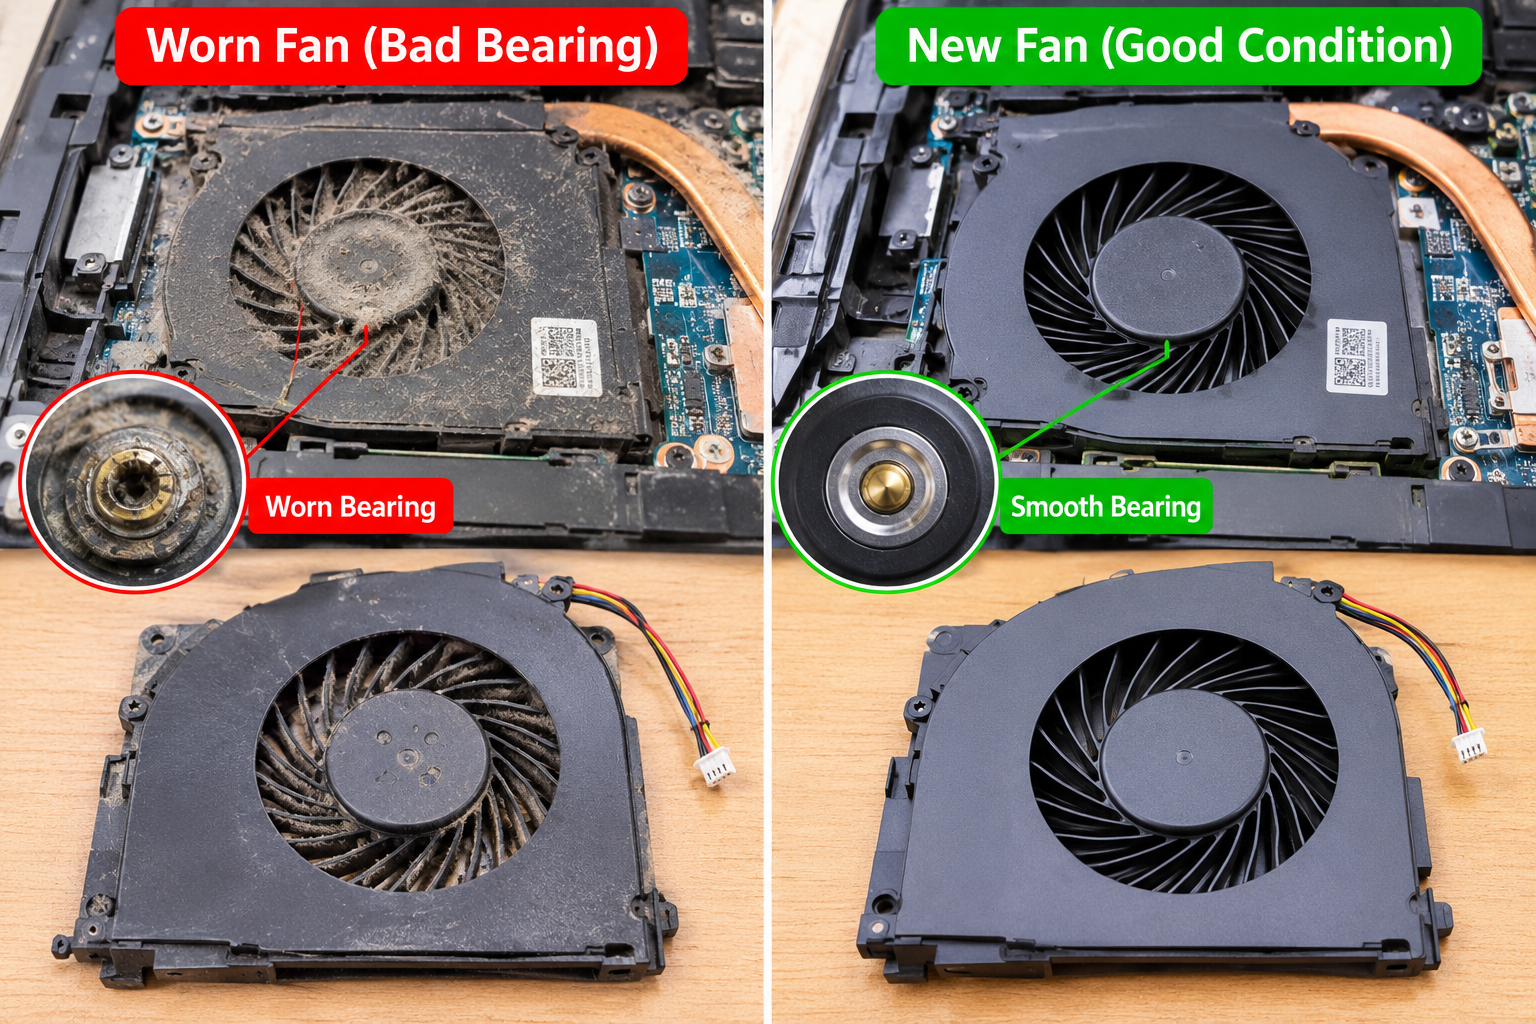
This is the least common cause but also the only one in this guide that requires hardware replacement. Laptop fans are mechanical components with a rated operational lifespan. When the bearing inside the fan motor wears out, the fan loses the ability to spin smoothly and efficiently. It runs at high speed continuously because it can no longer reach the target airflow at lower RPM — the worn bearing creates friction and wobble that robs efficiency.
Understanding Fan Bearing Wear
The fan axle sits inside a ring of balls (ball bearing) or a sleeve of oil-saturated porous metal (sleeve bearing). Budget laptops typically use sleeve bearings, rated for 15,000–20,000 hours. Premium laptops use ball bearings, rated for 30,000–50,000 hours. A laptop used 8 hours per day reaches the sleeve bearing lifespan in approximately 5–7 years under normal conditions — sooner if the fan runs at high speed frequently. High ambient temperatures in Indian summers (40–45°C in many regions) further accelerate bearing wear by reducing lubricant viscosity.
Identifying a Failing Fan
Sound Profile
A healthy fan produces a consistent whooshing sound that increases smoothly with speed. A worn fan produces grinding (metal-on-metal contact), rattling (particles in the bearing), clicking at regular intervals, or a wobbling/pulsating airflow sound even at constant speed.
HWiNFO64 Fan Data
Open HWiNFO64 Sensors and find the fan RPM reading. A healthy fan shows stable, consistent RPM. A worn fan shows erratic RPM fluctuation — the speed jumping irregularly even when the temperature is constant.
Replacement Process
Laptop fans are model-specific. Search "[your laptop model] fan replacement" to find the exact part. Compatible replacement fans are available online for ₹300–900 for most models. Replacement involves removing the bottom panel, disconnecting the fan power cable (a 3-pin or 4-pin connector), unscrewing the fan from the chassis, and reversing the process with the new part. The process takes 20–30 minutes with the correct screwdriver. iFixit.com has step-by-step photo guides for most popular laptop models.
Shop on InfotechKart
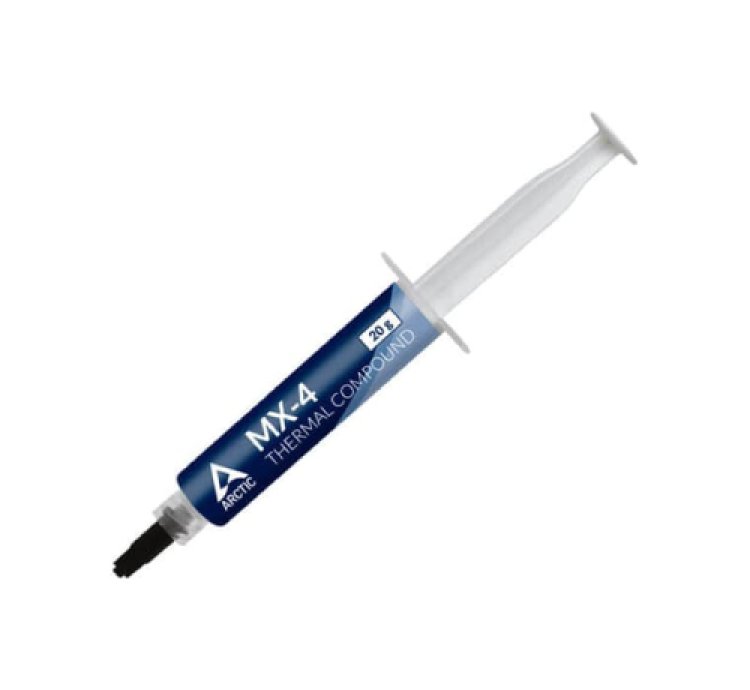
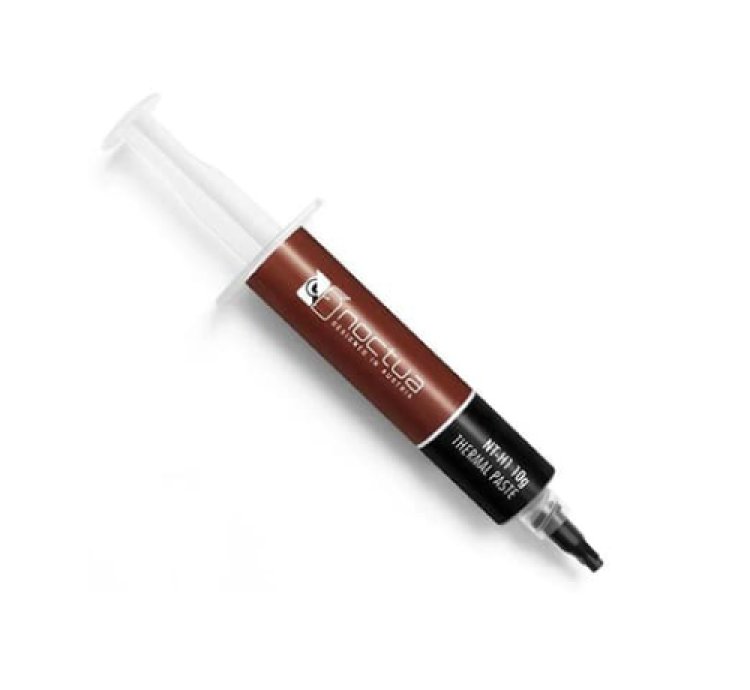
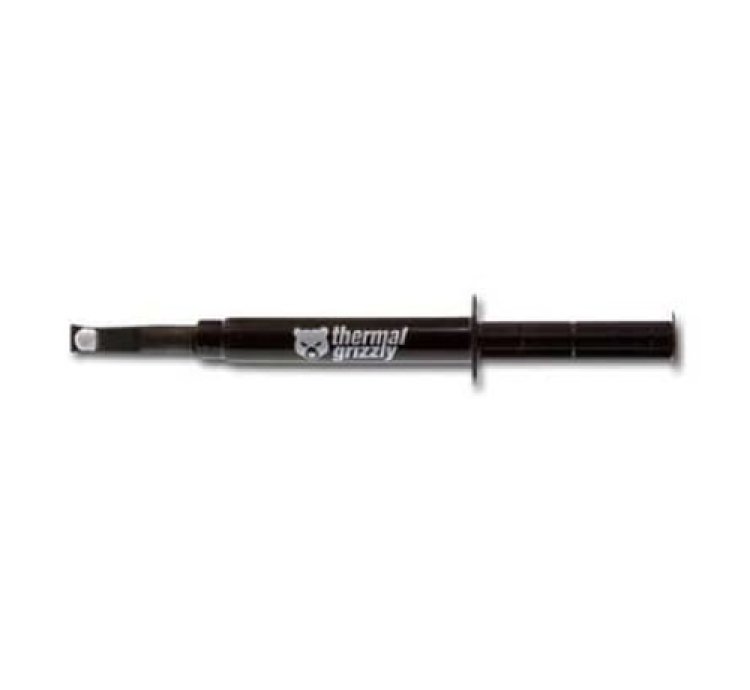
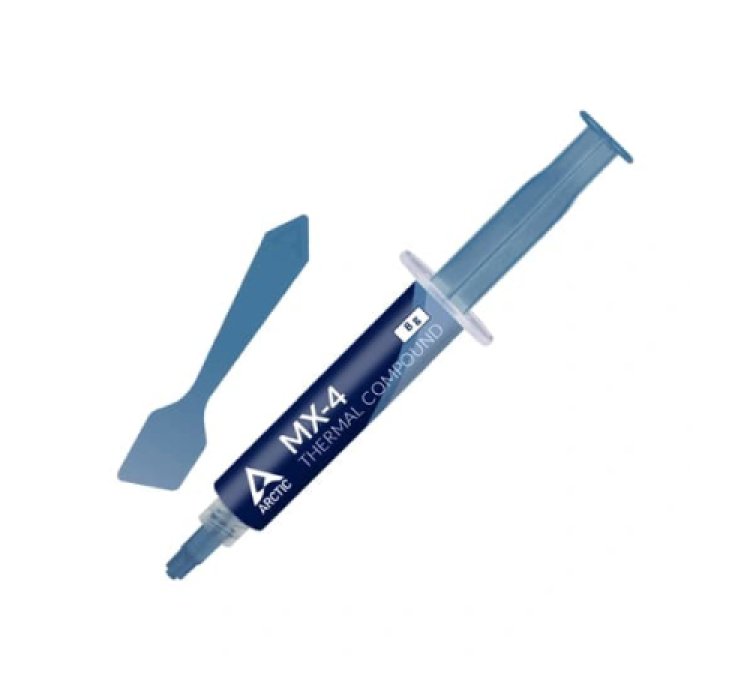
10 Best Thermal Pastes for Laptop Servicing
Genuine products • Fast India delivery • Expert picks for every budget

Frequently Asked Questions
Quick answers to the most common laptop fan questions
❓ My fan runs fast only when the laptop is charging — is that normal?
This is a common pattern and is usually not a problem. When plugged in, Windows typically switches to a higher performance power plan, which allows the CPU to run at higher frequencies — generating more heat. Additionally, the battery charging process itself generates heat. The combined thermal load is higher when charging than on battery. If the fan noise is extreme or the chassis is very hot to the touch even while charging on a cool surface, the heat sink may need cleaning (Cause 1) or the power plan minimum processor state may be too high (Cause 5).
❓ Can I manually control my laptop fan speed in Windows?
Yes, with caveats. Third-party tools like SpeedFan and NoteBook FanControl (NBFC) can override the firmware fan controller on many laptop models. However, manually reducing fan speed below what the firmware requests means the CPU temperature will rise higher than the system's thermal protection allows — potentially triggering thermal throttling (slower performance) or, on old systems with marginal cooling, causing thermal damage. The correct approach is to fix the underlying cause of the high temperature, not to override the fan controller.
❓ My fan suddenly started running fast after a Windows update — did the update damage something?
Almost certainly not. Windows updates do not damage hardware. What is happening is that immediately after a major update, Windows Defender re-scans all new files, Windows Search re-indexes changed content, and several background services run first-launch tasks. This can keep CPU usage elevated for 30–120 minutes. If the fan is still running fast more than two hours after the restart following the update, check Task Manager for the specific process (Cause 3).
❓ At what temperature should I start worrying about my laptop?
For the CPU: idle temperatures above 60°C are a sign of a cooling problem. Under load (gaming, video encoding), 85–90°C is normal for many laptops. Sustained temperatures consistently above 95°C indicate a serious cooling problem that needs attention. For the SSD (if your laptop has one): above 65°C under sustained read/write operations warrants attention. For the battery area (bottom of the laptop): if the chassis is uncomfortably hot to the touch on a cool surface, that is a sign something is wrong.
❓ Does a laptop cooling pad actually reduce fan noise?
A good cooling pad can reduce CPU temperature by 5–10°C by improving airflow to the laptop's bottom intake vents. For laptops where high temperature is the root cause (dusty heat sink, dried thermal paste), this temperature reduction may allow the fan to run at a slightly lower speed — reducing noise. However, a cooling pad is a workaround, not a fix. If your heat sink is clogged or your thermal paste is dried, cleaning and replacing paste will make a much larger difference than a cooling pad. A cooling pad does not help at all if the root cause is a high-CPU background process or malware.

Fix It Right, First Time
Get the Right Thermal Paste for Your Laptop
Genuine Thermal Grizzly, Noctua, Arctic, and Corsair products. Fast India delivery. Expert support if you need help choosing.
Shop Thermal Paste All Laptop Accessories